

Aleksa ᵘ̶ⁿ̶ˢ̶ᵉ̶ᵉ̶ⁿ
-
Posts
15 -
Joined
-
Last visited
-
Days Won
3
Posts posted by Aleksa ᵘ̶ⁿ̶ˢ̶ᵉ̶ᵉ̶ⁿ
-
-
With infrequent posting on the forums, only 3-4 plugins have been posted here, however over 20 have been developed so far!
Anything including plugins, gateways, modules, and messengers.
However since nothing new has been posted for a while, following a release of the new "Bulk Download Invoices" plugin (you can find it here: https://marketplace.blesta.com/#/extensions/197-Bulk%20Download%20Invoices), here's bit of a discount on all of the plugins (except this new one):USE CODE NEWRELEASE2304 FOR 25% OFF PLUGINS FOUND AT THIS PAGE
Blesta Plugins | Code Cats Ltd (code-cats.com) - https://my.code-cats.com/order/main/packages/blesta_plugins/?group_id=21 -
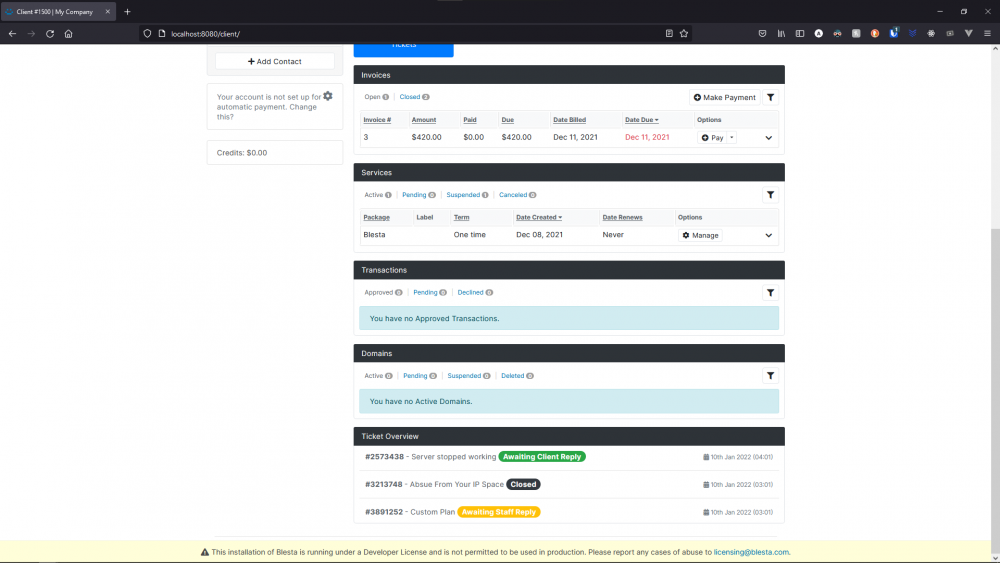
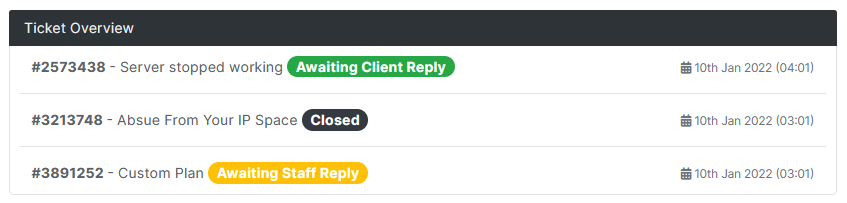
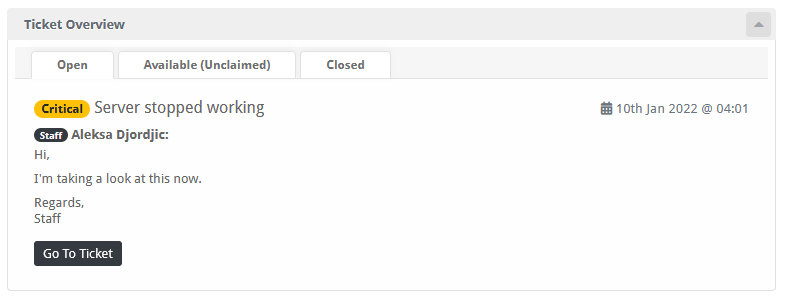
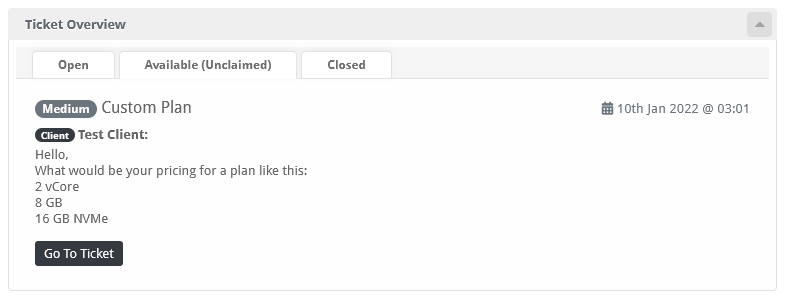
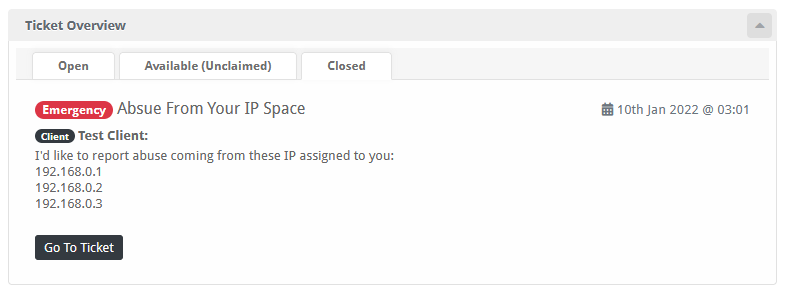
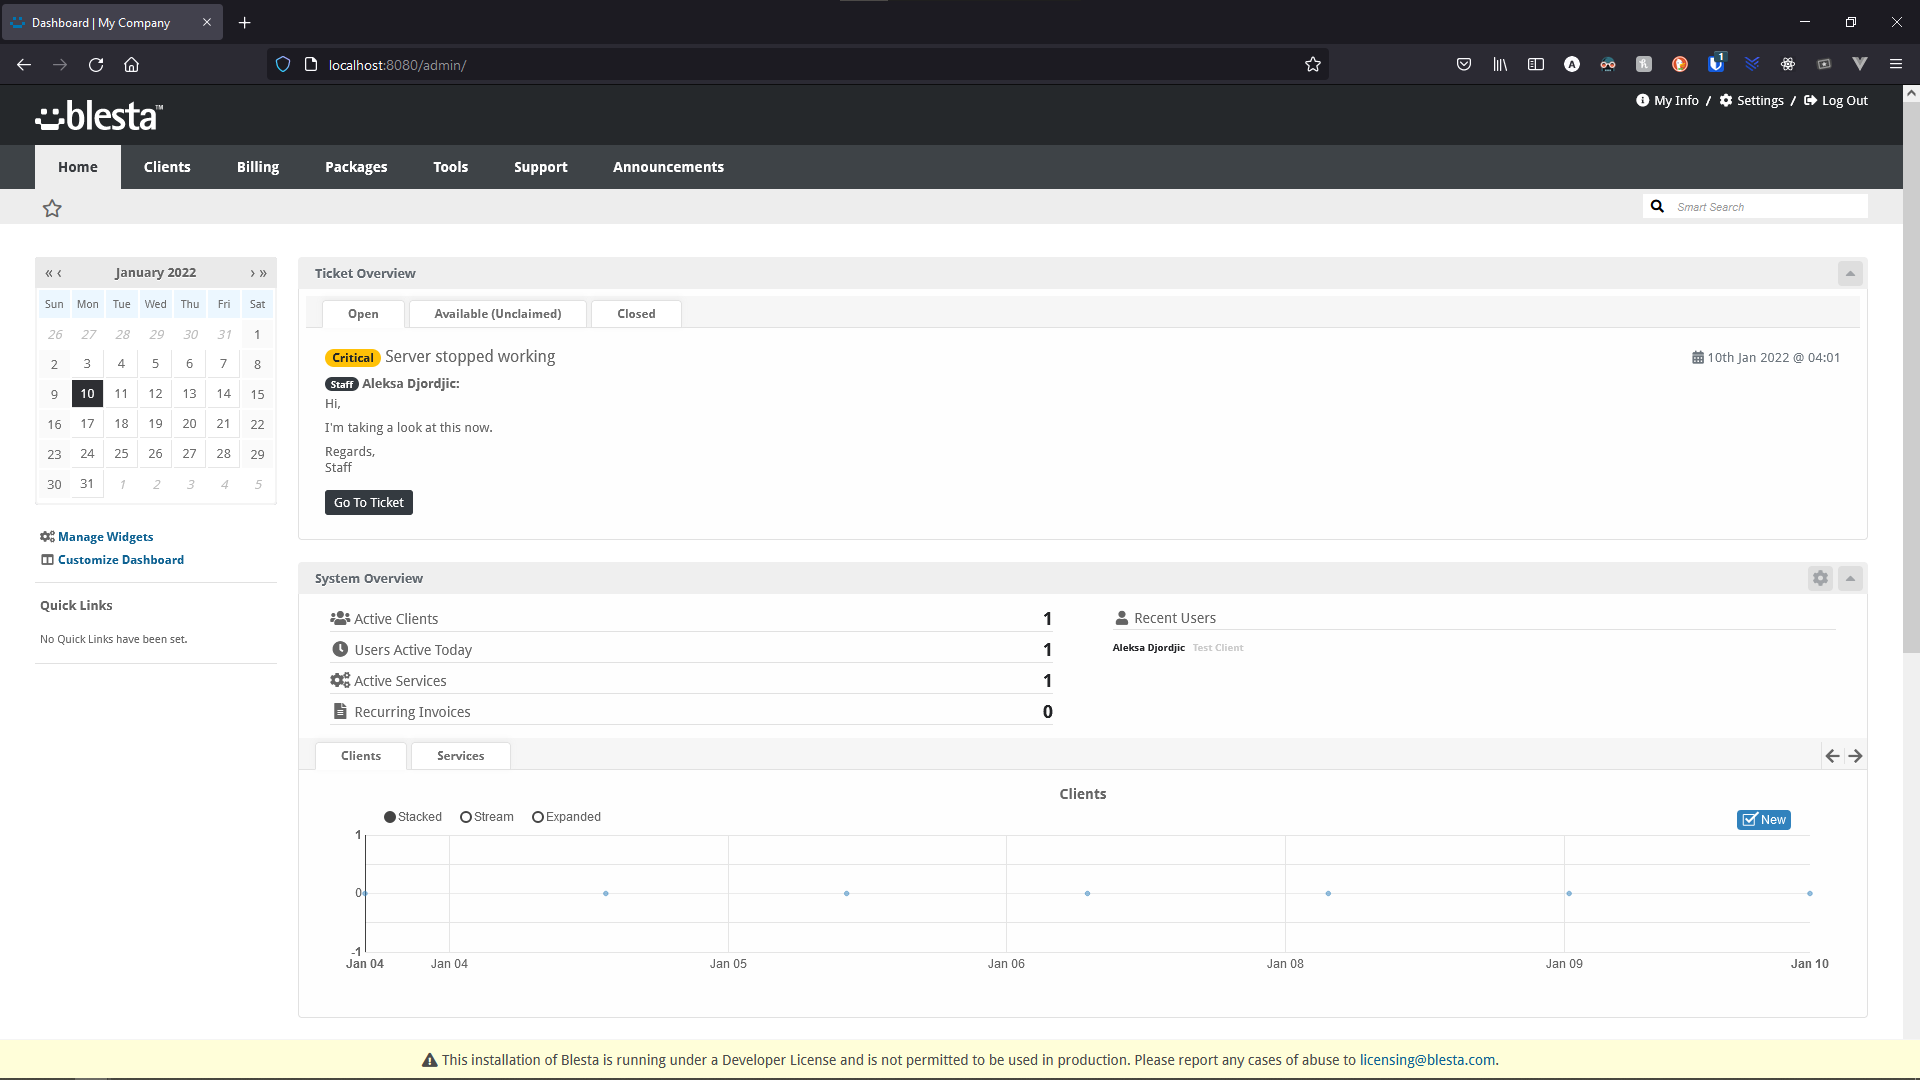
Ticket Overview
Provide your staff and clients with a quick overview of their tickets.
---------------------------------------
Links:
More Info, Gallery & Readme: https://code-cats.com/blesta/ticketoverview/
Purchase: https://my.code-cats.com/order/config/index/blesta_plugins/?group_id=16&pricing_id=171
Download (After purchase, requires login): https://my.code-cats.com/plugin/download_manager/client_main/index/9/---------------------------------------
Install the Plugin
1. Upload the source code to a /plugins/announcements/ directory within
your Blesta installation path.For example:
/var/www/html/blesta/plugins/ticket_overview/
3. Log in to your admin Blesta account and navigate to
> Settings > Plugins4. Find the Ticket Overview plugin and click the "Install" button to install it
5. You're done!
---------------------------------------
Setting up
Client Widget will be enabled by default, as well as the Staff Widget - However the Staff Widget has to be manually added to your dashboard.
To do so, follow these steps:- Go to "Home"
- On the left side, click "Manage Widgets"
- Drag "Ticket Overview" to the left side
- Close "Manage Widgets" window
Quick Support
I want to disable the Staff/Client Widget, how to do so?
To disable one of the widgets, or both, you need to go into plugin "Settings"
To do so, follow these steps:- On the admin side, top right go to "Settings"
- Go to "Plugins"
- Find "Ticket Overview" and click "Settings"
- Go to "Actions" tab
- Disable/Enabled the widgets that you want
- Click "Update Settings"
---------------------------------------
Images:
-
Ticket On Purchase
Create a new ticket on new purchase of a package to easily manage manual deployment and client communication.
---------------------------------------
Links:
More Info, Gallery & Readme: https://code-cats.com/blesta/ticketpurchase/
Purchase: https://my.code-cats.com/order/config/index/blesta_plugins/?group_id=16&pricing_id=234
Download (After purchase, requires login): https://my.code-cats.com/plugin/download_manager/client_main/index/15/---------------------------------------
Install the Plugin
1. Upload the source code to a /plugins/ticket_on_purchase/ directory within
your Blesta installation path.For example:
/var/www/html/blesta/plugins/ticket_on_purchase/
3. Log in to your admin Blesta account and navigate to
> Settings > Plugins4. Find the Ticket On Purchase plugin and click the "Install" button to install it
5. You're done!
---------------------------------------
Images:
-
Provision Instantly
Instantly provision services, saving your clients the 5 minute cron job wait.
With this plugin, your clients won't have to wait for cron to run and provision their services, which can take up to 5 minutes - Instead, provision them instantly, once they complete their payment.---------------------------------------
Links:
More Info, Gallery & Readme: https://code-cats.com/blesta/instant/
Purchase: https://my.code-cats.com/order/config/index/blesta_plugins/?group_id=16&pricing_id=233
Download (After purchase, requires login): https://my.code-cats.com/plugin/download_manager/client_main/index/7/---------------------------------------
IMPORTANT BEFORE USE!
TO PREVENT RACE CONDITIONS AND SIMILAR PROBLEMS, DISABLE "Provision Paid Pending Services" CRON FOUND AT
/admin/settings/company/automation/---------------------------------------
Install the Plugin
1. Upload the source code to a /plugins/provision_instantly/ directory within
your Blesta installation path.For example:
/var/www/html/blesta/plugins/provision_instantly/
3. Log in to your admin Blesta account and navigate to
> Settings > Plugins4. Find the Provision Instantly plugin and click the "Install" button to install it
5. You're done!
-
Server Hunter Sync
Automatically sync stock, name, visibility, prices and currency of your Blesta Packages with Server Hunter Offers.
QuoteServerHunter.com
Easily browse over 28,000 virtual and dedicated servers offered by hundreds of hosting providers to find your perfect server at the lowest price.---------------------------------------
Links:
More Info, Gallery & Readme: https://code-cats.com/blesta/serverhunter/
Purchase: https://my.code-cats.com/order/config/index/blesta_plugins/?group_id=16&pricing_id=195
Download (After purchase, requires login): https://my.code-cats.com/plugin/download_manager/client_main/index/12/---------------------------------------
Install the Plugin
1. Upload the source code to a /plugins/server_hunter_sync/ directory within
your Blesta installation path.For example:
/var/www/html/blesta/plugins/server_hunter_sync/
3. Log in to your admin Blesta account and navigate to
> Settings > Plugins4. Find the Server Hunter Sync plugin and click the "Install" button to install it
5. You're done!
---------------------------------------
Setting up
Once you've installed the Plugin, go to "Manage" on the plugin and input your API key which you've got on Server Hunter by navigating to:
Information for Providers > Manage Accoun > Manage (On your company) > API > Generate API KeyQuick Support
Pricing/terms are not synced properly, why is that?
Make sure you've selected the proper currency.
After that, make sure that you have one of the supported terms setup on your package with that currency:- 1 - Year
- 6 - Month
- 3 - Month
- 1 - Month
- 1 - Week
- 1 - Day
---------------------------------------
Images:
-
FraudRecord Query
Query client validity and trust via FraudRecord inside of Blesta.
QuoteWhat is FraudRecord?FraudRecord is a free service for online service providers (hosting companies or others), designed to help them combine their knowledge and combat against misbehaving clients. Companies can report unpleasant clients to FraudRecord, and access our database to read the information provided by other companies.---------------------------------------
Links:
More Info, Gallery & Readme: https://code-cats.com/blesta/fraudrecord/
Purchase: https://my.code-cats.com/order/config/index/blesta_plugins/?group_id=16&pricing_id=230
Download (After purchase, requires login): https://my.code-cats.com/plugin/download_manager/client_main/index/13/---------------------------------------
Install the Plugin
1. Upload the source code to a /plugins/fraudrecord_query/ directory within
your Blesta installation path.For example:
/var/www/html/blesta/plugins/fraudrecord_query/
3. Log in to your admin Blesta account and navigate to
> Settings > Plugins4. Find the FraudRecord Query plugin and click the "Install" button to install it
5. You're done!
---------------------------------------
Images:
-
Ticket Overview
Provide your staff and clients with a quick overview of their tickets.
Links:
More Info, Gallery & Readme: https://code-cats.com/blesta/ticketoverview/
Purchase: https://my.code-cats.com/order/config/index/blesta_plugins/?group_id=16&pricing_id=171
Download (After purchase, requires login): https://my.code-cats.com/plugin/download_manager/client_main/index/9/Install the Plugin
-
Upload the source code to a /plugins/ticket_overview/ directory within
your Blesta installation path.For example:
/var/www/html/blesta/plugins/ticket_overview/ -
Log in to your admin Blesta account and navigate to
Settings > Plugins
-
Find the Ticket Overview plugin and click the "Install" button to install it
-
You're done!
Setting Up
Client Widget will be enabled by default, as well as the Staff Widget - However the Staff Widget has to be manually added to your dashboard.
To do so, follow these steps:- Go to "Home"
- On the left side, click "Manage Widgets"
- Drag "Ticket Overview" to the left side
- Close "Manage Widgets" window
Quick Support
I want to disable the Staff/Client Widget, how to do so?
To disable one of the widgets, or both, you need to go into plugin "Settings"
To do so, follow these steps:- On the admin side, top right go to "Settings"
- Go to "Plugins"
- Find "Ticket Overview" and click "Settings"
- Go to "Actions" tab
- Disable/Enabled the widgets that you want
- Click "Update Settings"
Images:

-
-
4 minutes ago, Xerong said:
Is there one already installed? I want to see what it looks like in person.
As in a live demo?
No, there isn't at the moment - though I might be able to setup a quick private demo.
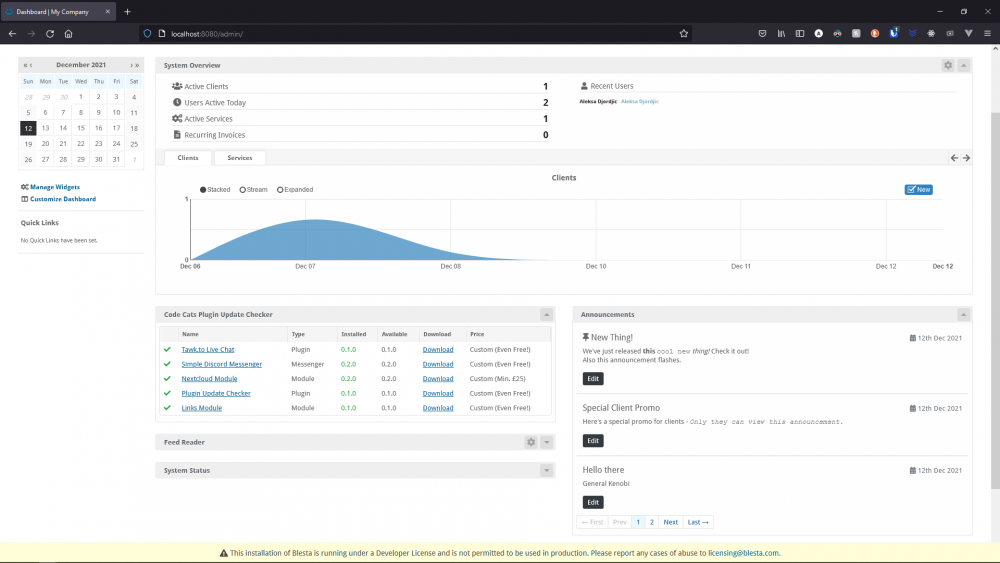
Only preview at the moment is those images above and here: https://my.code-cats.com/plugin/announcements/client_main
Though that one is with a custom Blesta theme... and also I still haven't made it work with announcememts properly...
-
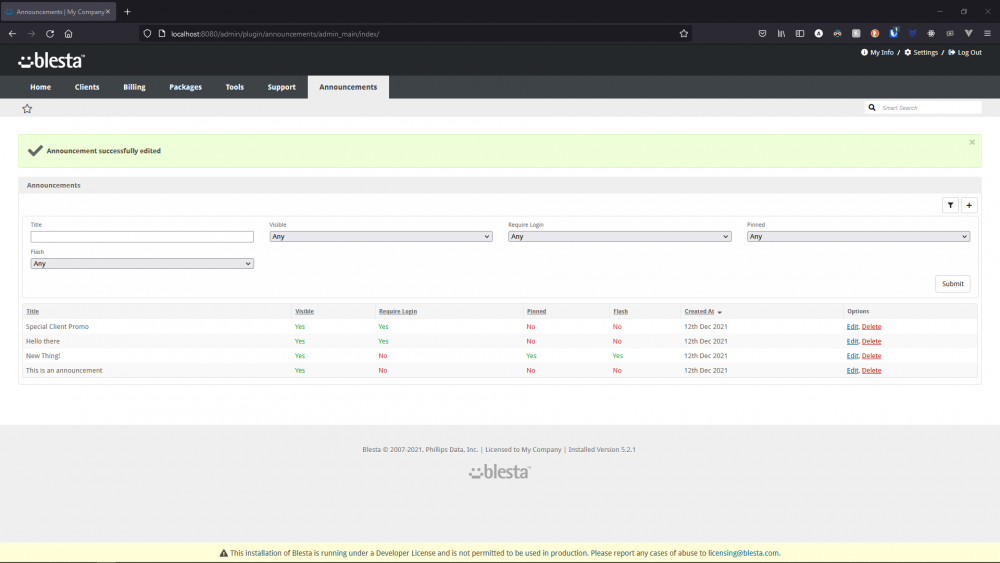
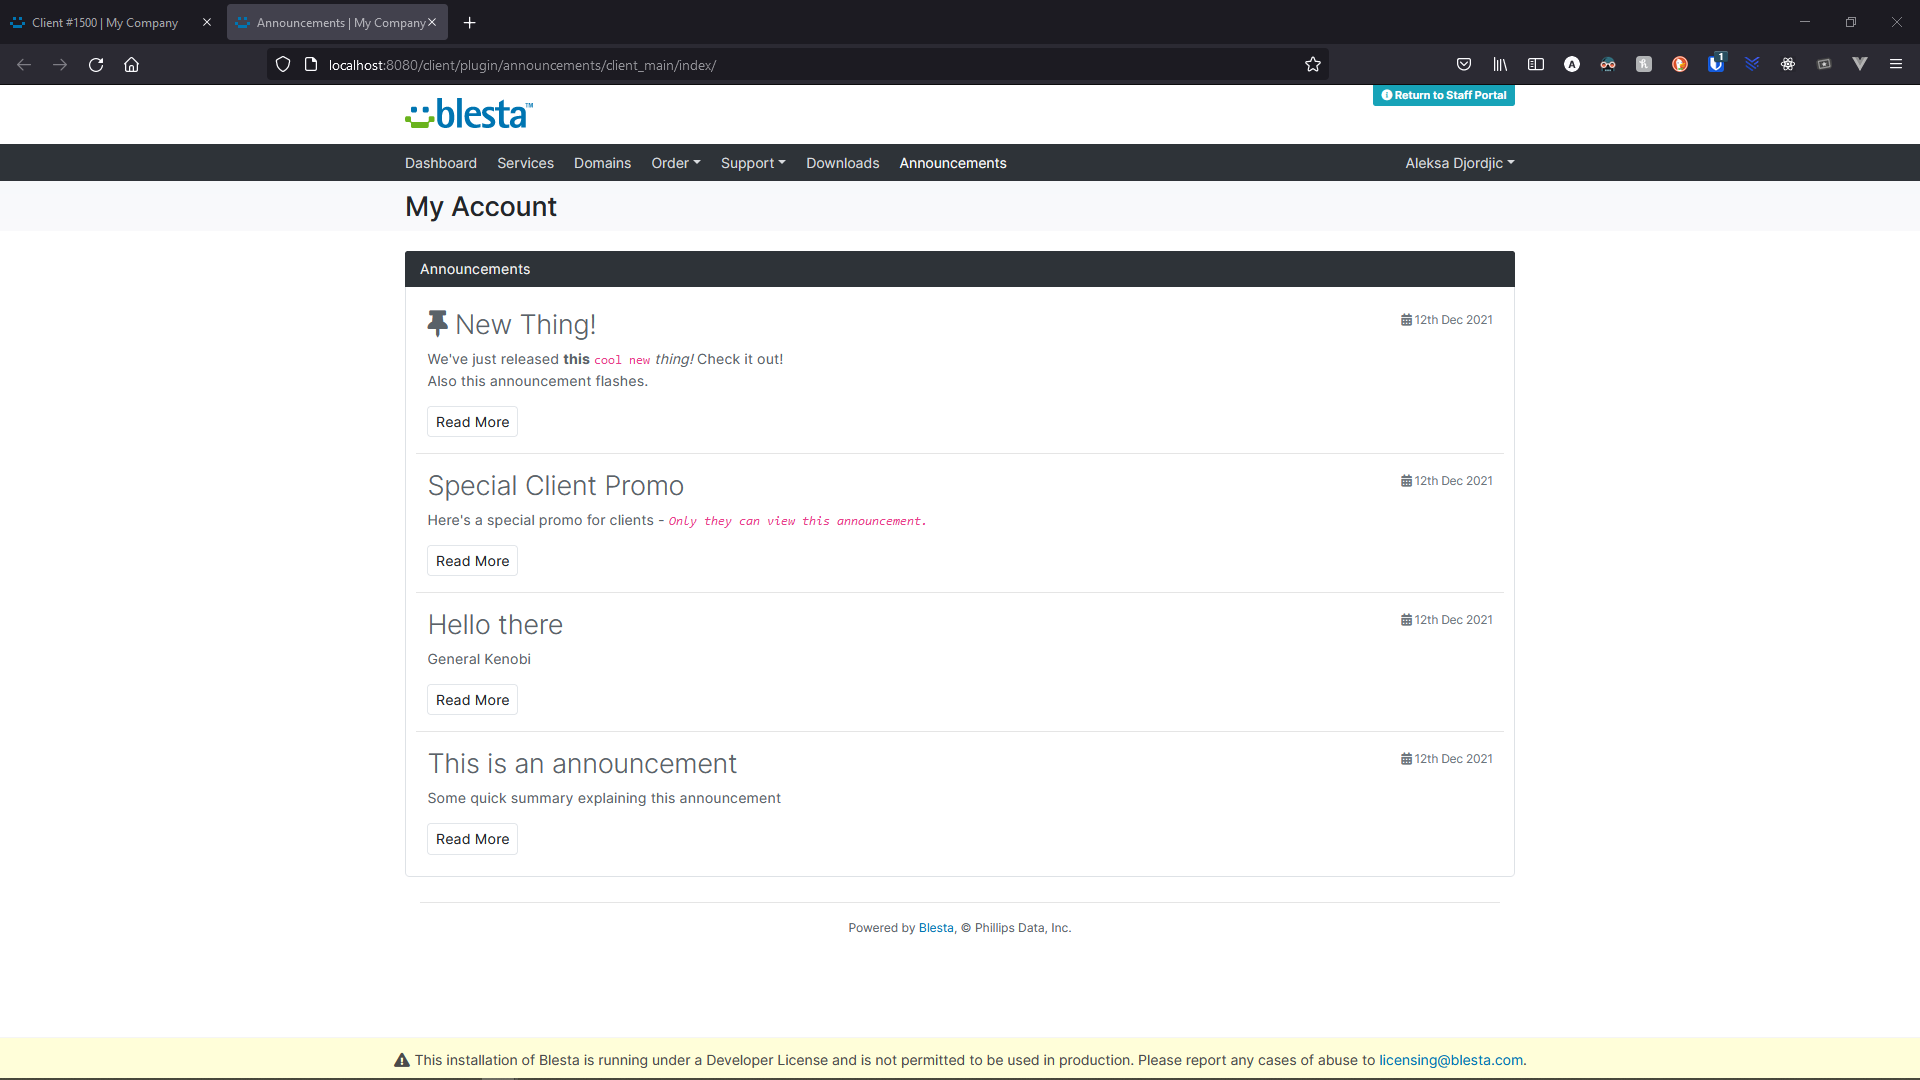
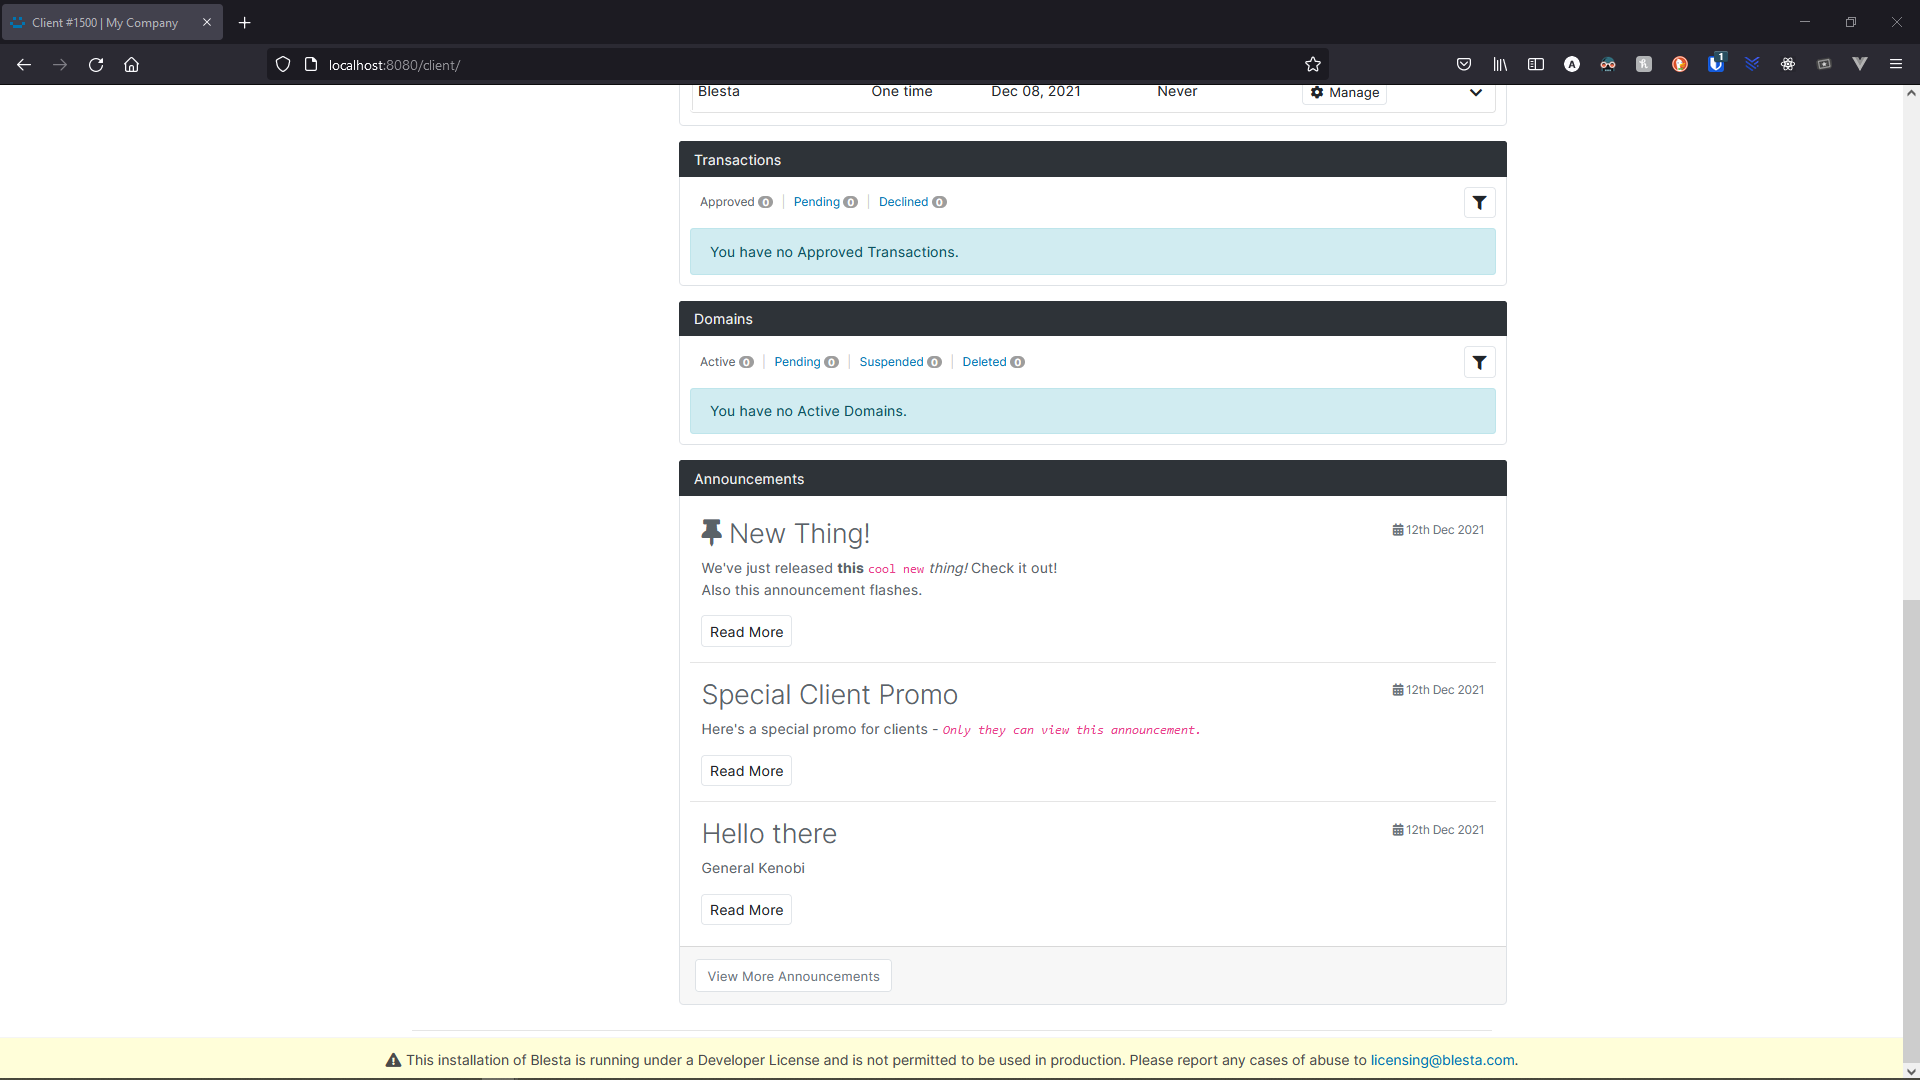
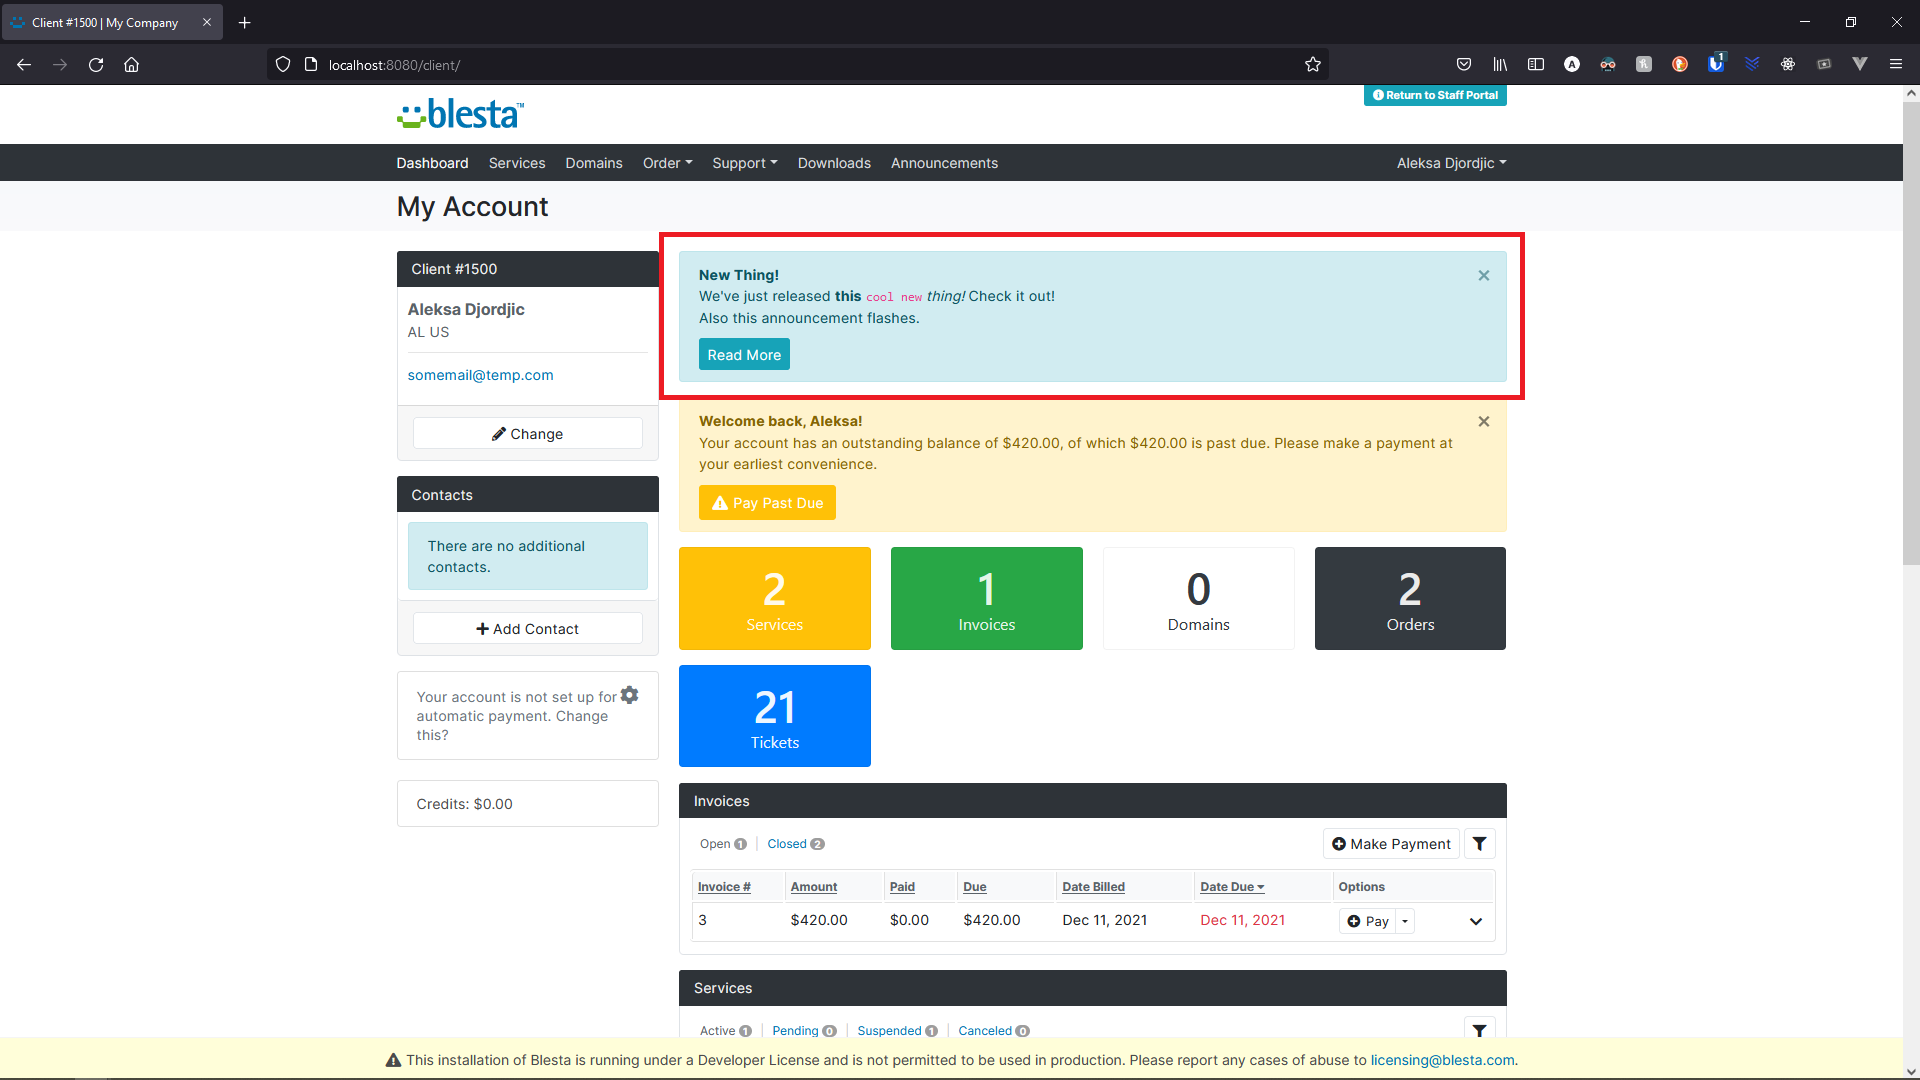
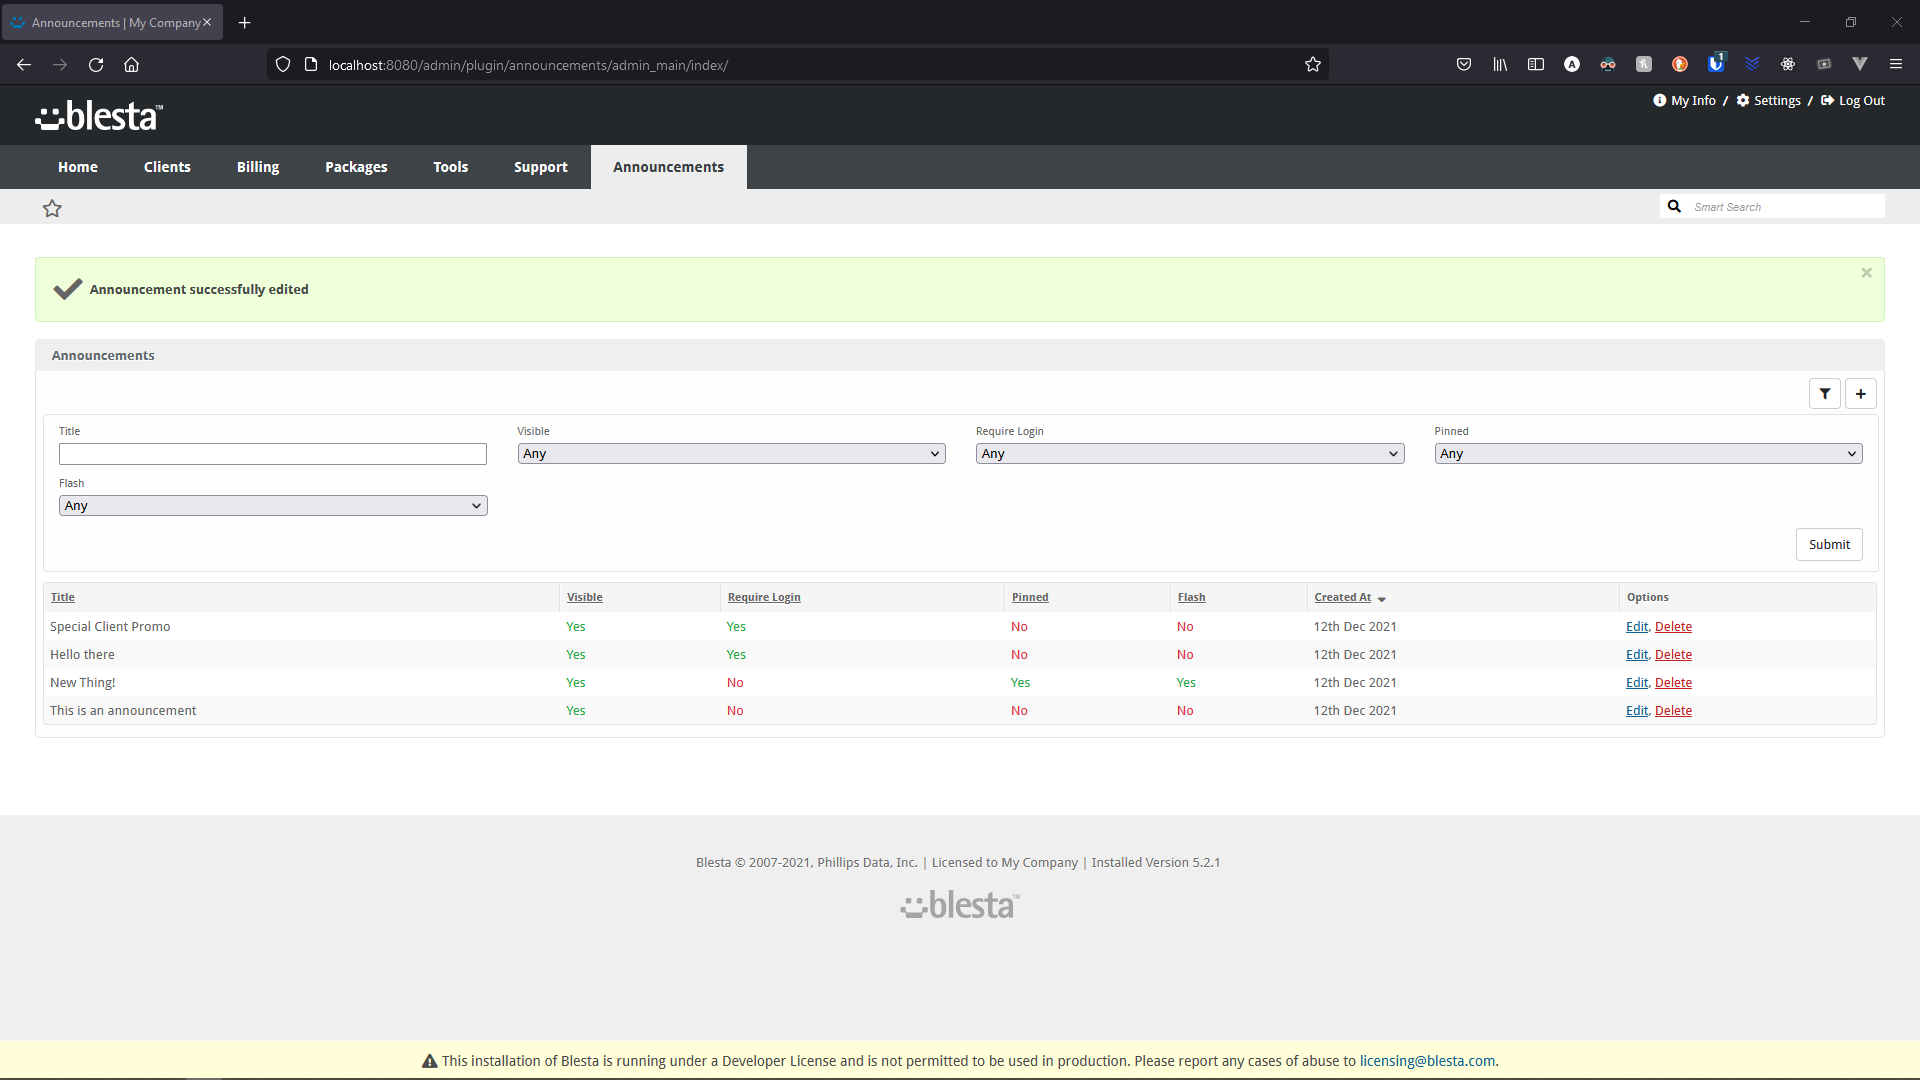
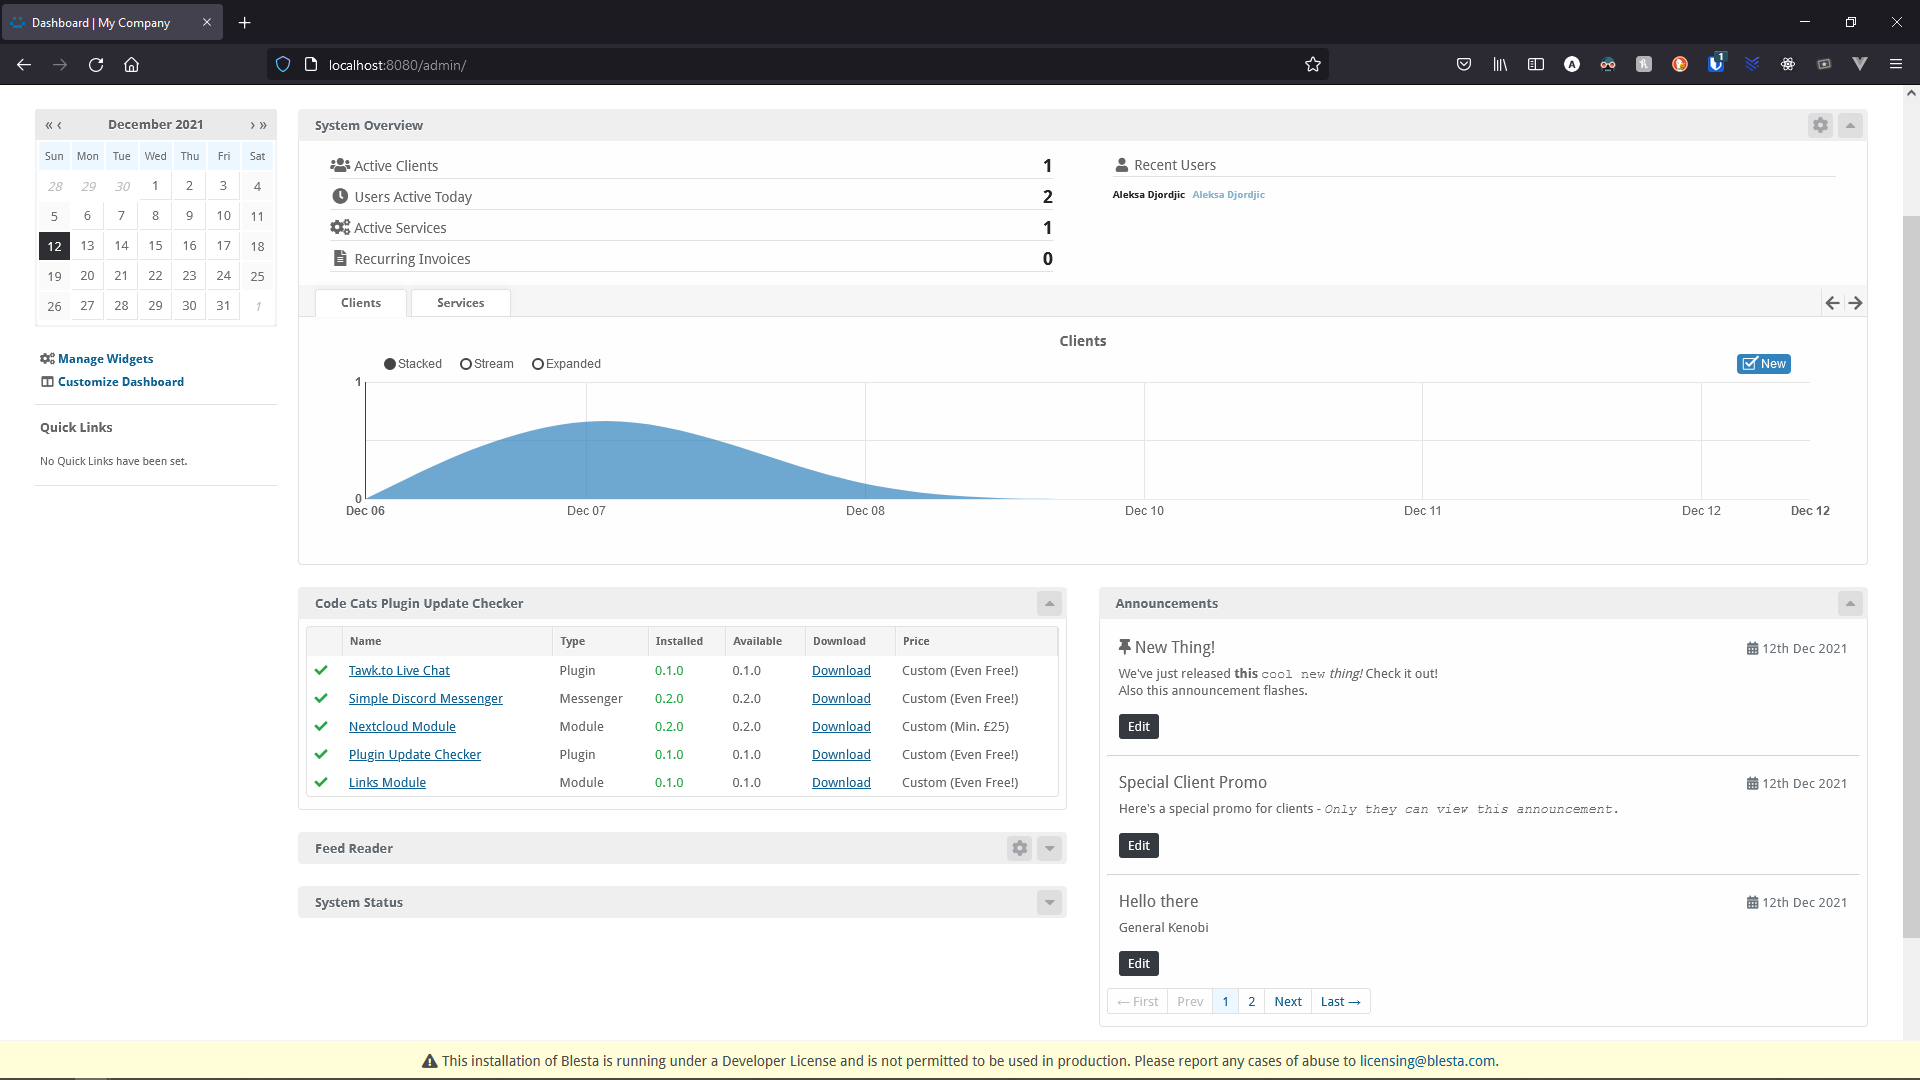
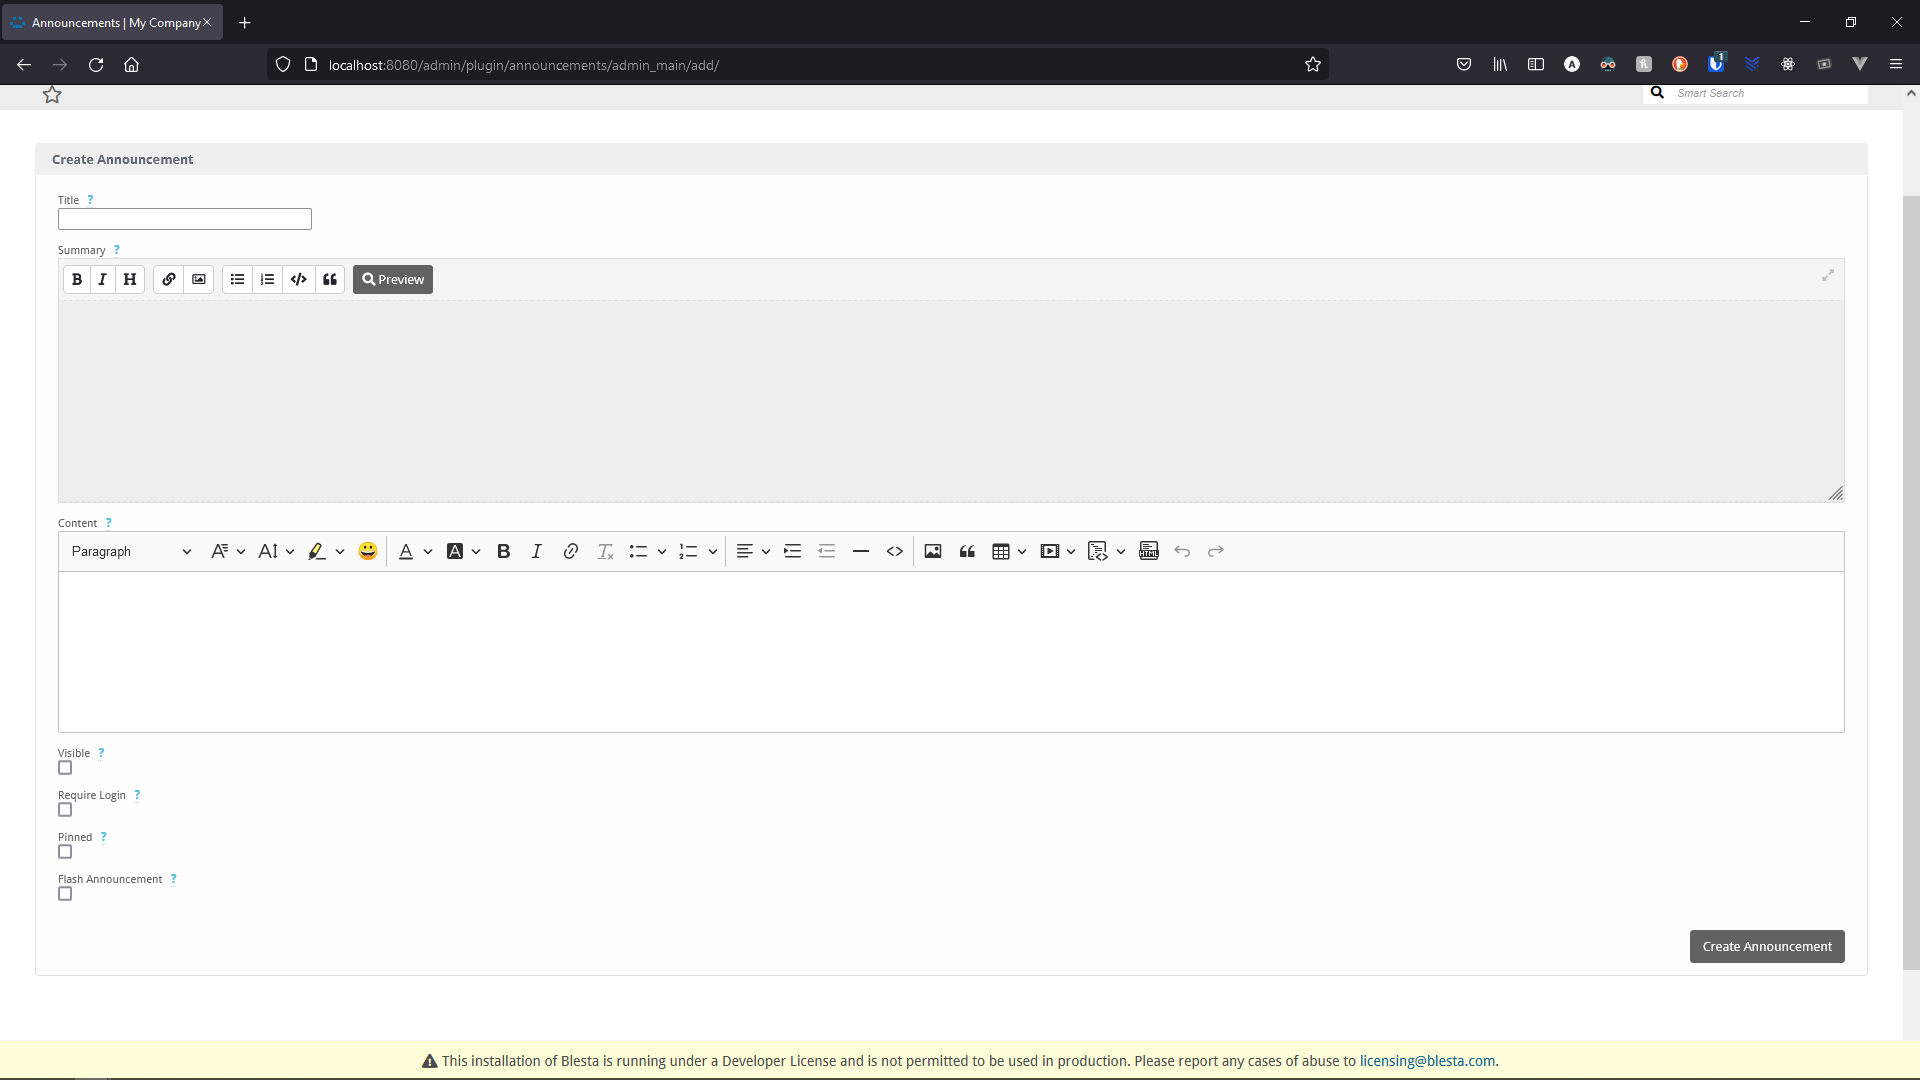
Announcements
Easy to use Announcements plugin for Blesta.
Show Announcements and alerts in the Client Dashboard.---------------------------------------
Links:
More Info, Gallery & Readme: https://code-cats.com/blesta/announcements/
Purchase: https://my.code-cats.com/order/config/index/blesta_plugins/?group_id=12&pricing_id=169
Download (After purchase, requires login): https://my.code-cats.com/plugin/download_manager/client_main/index/7/---------------------------------------
Install the Plugin
1. Upload the source code to a /plugins/announcements/ directory within
your Blesta installation path.For example:
/var/www/html/blesta/plugins/announcements/
3. Log in to your admin Blesta account and navigate to
> Settings > Plugins4. Find the Announcements plugin and click the "Install" button to install it
5. You're done!
---------------------------------------
Quick Support
I don't have a widget in the admin panel
You need to manually add the widget, to do this:
- Go to "Home"
- On the left side, click "Manage Widgets"
- Drag "Announcements" to the left side
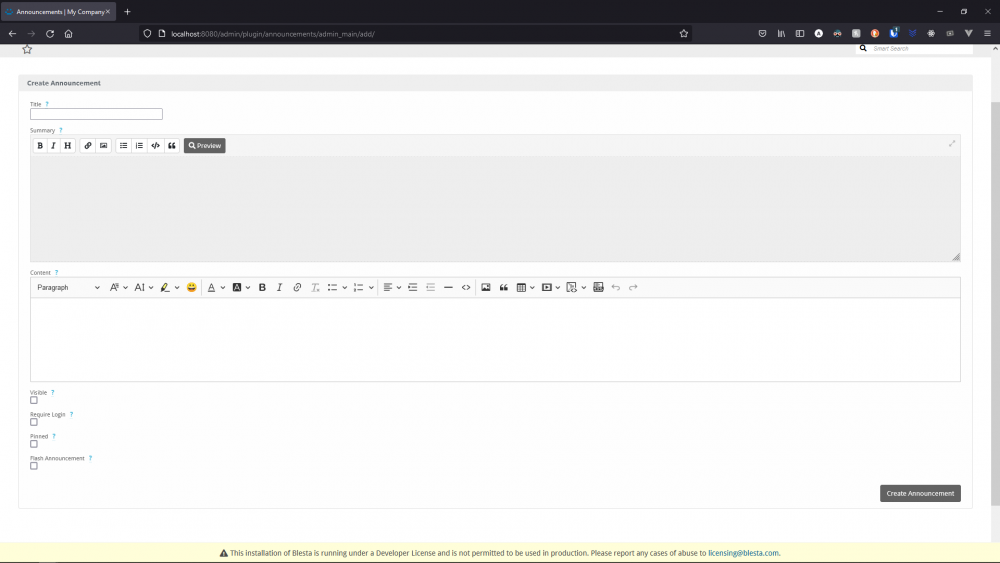
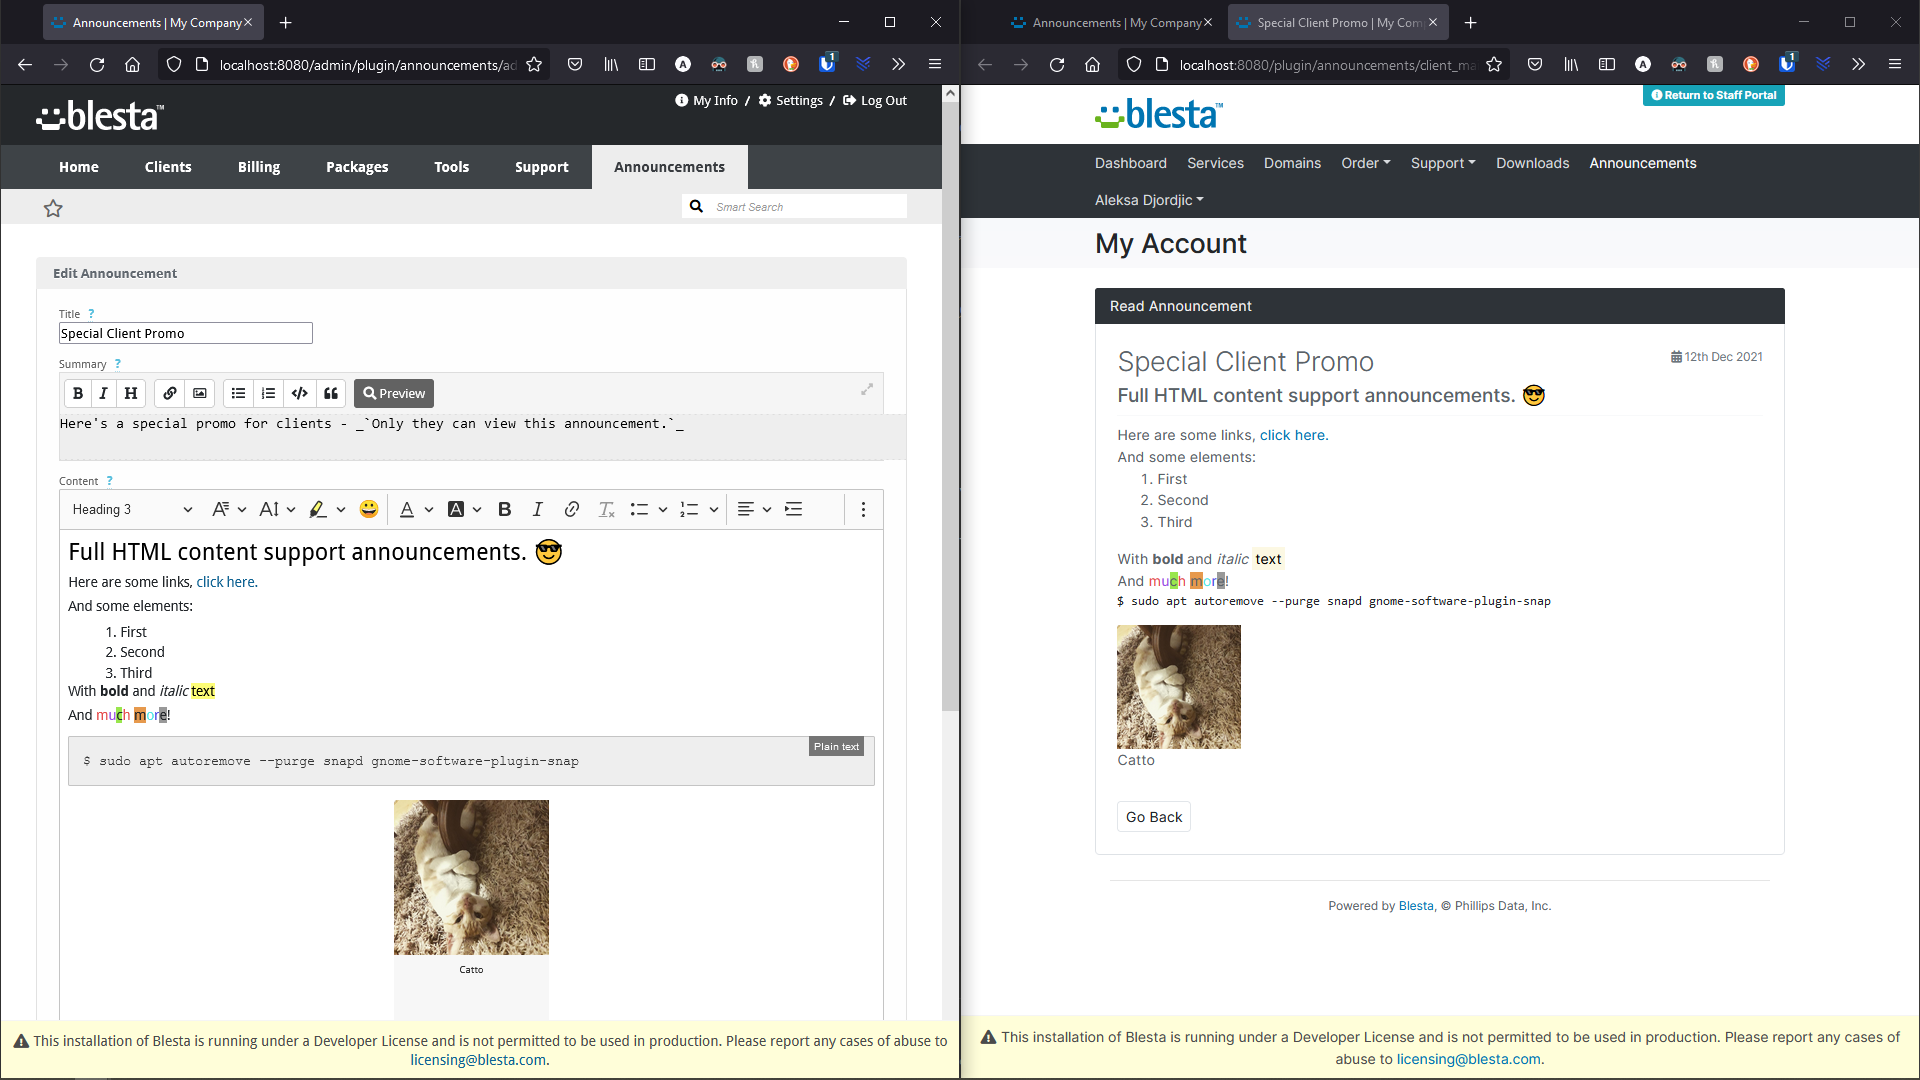
- Close "Manage Widgets" windowWhat's the difference between "Summary" and "Content"?
- Summary:
Quick small description shown on the admin widget, client widget, and client announcement list - Supports markdown- Content:
Full content of the announcement. Accessible by clicking "Read More" in the client widget or client announcement list---------------------------------------
Images:


-
Nextcloud
Simple Nextcloud Provisioning Module
---------------------------------------
Links:
More Info, Gallery & Readme: https://code-cats.com/blesta/nextcloud/
Purchase: https://my.code-cats.com/order/config/index/blesta_plugins/?group_id=16&pricing_id=165
Download (After purchase, requires login): https://my.code-cats.com/plugin/download_manager/client_main/index/4/---------------------------------------
Install the Module
1. Upload the source code to a /components/modules/nextcloud/ directory within
your Blesta installation path.For example:
/var/www/html/blesta/components/modules/nextcloud/
2. Log in to your admin Blesta account and navigate to
> Settings > Modules3. Find the Nextcloud module and click the "Install" button to install it
4. You're done! Only thing left is to configure it properly.
---------------------------------------
Setting up
Simple Nextcloud provisioning in Blesta, easy to use.
Important note:
This module is intended for provisioning to one Nextcloud server, thus, "Server Groups" might be buggy.
Inside of the "Package", make sure you select "Any" "Server Group" and then select one server you want to deploy to.If you have multiple servers, for example in different locations, recommended approach is to make a package for each location and let users pick which one they need.
Creating a Server:
- Go to /admin/settings/company/modules/installed/ and click "Manage" on the "Nextcloud" module
- Click "Add Server" in the top right
- Fill out required information
- Label - This is what you'll see the server named as in the admin panel, name it however you want
- Hostname - Full URL to your instance, including http(s)://, for example, https://cloud.mycompany.com
- API Username - Username to your API, read "Quick Support" bellow to learn how to find it
- API Password - Password to your API, read "Quick Support" bellow to learn how to find it, its in the format xxxxx-xxxxx-xxxxx-xxxxx-xxxxx
- Capacity - Feature of this module, if you'd like to limit or prevent overallocation, you can set this value to the amount, in GB, that you want deployed to this server. If this amount is exceeded, new orders will be rejected until there's more space on the server. Set to 0 to disable this feature
Configurable Options:
If you'd like to make "Storage Amount" configurable by users instead of per-package, you can use "Configurable Options" to achieve this.Quick guide (Assumes you know how to create a Configurable Option, Group and assign it to a package)
- Create a Configurable Option
- "Name" MUST be storage_quota
- Under "Options", "Value" should be a number of GB that should be provisioned---------------------------------------
Quick Support
Where are my API Username and Password?- Login to your Nextcloud with an admin account
- Go to /settings/user/security
- Under "Devices & sessions", enter your desired "App name" and click "Create new app password"
- Two fields, "Username" and "Password", will pop up, those are your "API Username" and "API Password" required for the module.
- IMPORTANT: Once you click "Done", you won't be able to see this password again, so make sure you save it somewhere!---------------------------------------
Images:
-
Tawk.to
Simple, easy to use Tawk.to Chat Integration.
Pay what you want!---------------------------------------
Links:
More Info, Gallery & Readme: https://code-cats.com/blesta/tawkto/
Purchase: https://my.code-cats.com/order/config/index/blesta_plugins/?group_id=16&pricing_id=166
Download (After purchase, requires login): https://my.code-cats.com/plugin/download_manager/client_main/index/3/---------------------------------------
Quick Support:
-
How to setup the live chat?
We assume you've already configured your Tawk.to account and made a widget, this will guide you through what each setting means.- Property ID - Click on the setting, bottom left, to open your property settings. In the "Overview", you'll see a "Property ID" bellow your "Property Image"
- Widget ID - This is only relevant if you have multiple widgets, if you have only one (1), keep it as "default". If you have multiple, go to settings, bottom left, "Chat Widget" and take a look at your direct chat link. It will look something like this: https://tawk.to/chat/{property_id}/abcde1234 - In this case, the "abcde1234" would be your Widget ID
- Secure Mode - This allows you to track who's the current logged in user in Blesta, having this option on will automatically set their name and email in Tawk.to. Enable this option IF you have enabled it in Tawk.to (Settings > "Overview", at the bottom there is "Javascript API" with "Secure Mode" and "Key")
- Secure Mode Key - This option is relevant to "Secure Mode" option, you can find your key next to the "Secure Mode" checkbox in Tawk.to
---------------------------------------
Images:
-
How to setup the live chat?
-
Discord Messenger
Simple messenger for Blesta which sends messages to a Discord Webhook.
Create a new Webhook, assign it in Blesta settings for the messenger, enable notifications and get messages for ticket updates and new orders straight into a Discord channel.Note:
Messenger will send all of the data to the specified Webhook, it does not care to which staff member it was intended to go - Everything is sent from everyone! (if they have notices enabled)---------------------------------------
Links:
More Info, Gallery & Readme: https://code-cats.com/blesta/discord/
Purchase: https://my.code-cats.com/order/config/index/blesta_plugins/?group_id=16&pricing_id=167
Download (After purchase, requires login): https://my.code-cats.com/plugin/download_manager/client_main/index/2/---------------------------------------
Quick Support:
-
How to setup the Messenger?
After you have installed it, go to top right Settings > Messengers (/admin/settings/company/messengers/installed/) and find the "Discord" Messenger.
Click on "Manage" and input your Webhook URL which you got from Discord, then click "Update Settings".
Next on the left side under "Messengers" click on "Messenger Configuration" and assign Discord to the SMS Message Type (Currently the only one supported by Blesta).
Last step is to verify if messages are enabled, again on the left side under "Messengers" to go "Message Templates".
You should see a couple of templates. Edit each one of them and make sure they are enabled if you want to receive their notifications.
While you are on this page, you can edit the message contents, keep in mind that they will be posted in a Discord Embed and **you can use Discord text formatting!** -
Not getting order notifications?
In your admin panel, go to Billing > Overview (/admin/billing/index/).
Scroll to the bottom. You should see an "Orders" panel. In its corner, there is a cogwheel for changing its settings. (This)
Click on it, then under "Order Notifications" enable "Messengers".
Click "Update Settings" to save your changes. -
Not getting ticket notifications?
In your admin panel, go to Support > Departhments (/admin/plugin/support_manager/admin_departments/)
Edit your desired department and check "Send Auto-Response Emails for New Tickets".
Save your changes by clicking "Edit Department".-
Next step is to enable which Staff Ticket notifications will be sent to the Messenger.
To do this, in your admin panel, go to Support > Staff (/admin/plugin/support_manager/admin_staff/)
Edit your desired staff member and check which ticket priorities should be sent to the Messenger.
Save your changes by clicking "Edit Staff"
-
Next step is to enable which Staff Ticket notifications will be sent to the Messenger.
---------------------------------------
Images:
-
How to setup the Messenger?
-
1 hour ago, Jono said:
I've added CORE-4429 to address this
Thanks, I'll keep an eye on it, hopefully its fixed soon ?
-
I've got captcha enabled on all forms

Although when ordering while logged out, if you want to register, everything is fine, you get the captcha on the register form

But, if you are logging in, the captcha is not on the login form

This happens on this URL
/order/cart/index/game
This also occurs on a clean Blesta install, version 5.1.2


Download Invoices in Bulk
in Support
Posted
Heya 👋👀
I've made a plugin for this a while back:
https://marketplace.blesta.com/#/extensions/197-Bulk Download Invoices